

![]()
![]()
mcp-pandoc: A Document Conversion MCP Server
Officially included in the Model Context Protocol servers open-source project. 🎉
Overview
A Model Context Protocol server for document format conversion using pandoc. This server provides tools to transform content between different document formats while preserving formatting and structure.
Please note that mcp-pandoc is currently in early development. PDF support is under development, and the functionality and available tools are subject to change and expansion as we continue to improve the server.
Credit: This project uses the Pandoc Python package for document conversion, forming the foundation for this project.
📋 Quick Reference
New to mcp-pandoc? Check out 📖 CHEATSHEET.md for
- ⚡ Copy-paste examples for all formats
- 🔄 Bidirectional conversion matrix
- 🎯 Common workflows and pro tips
- 🌟 Reference document styling guide
Perfect for quick lookups and getting started fast!
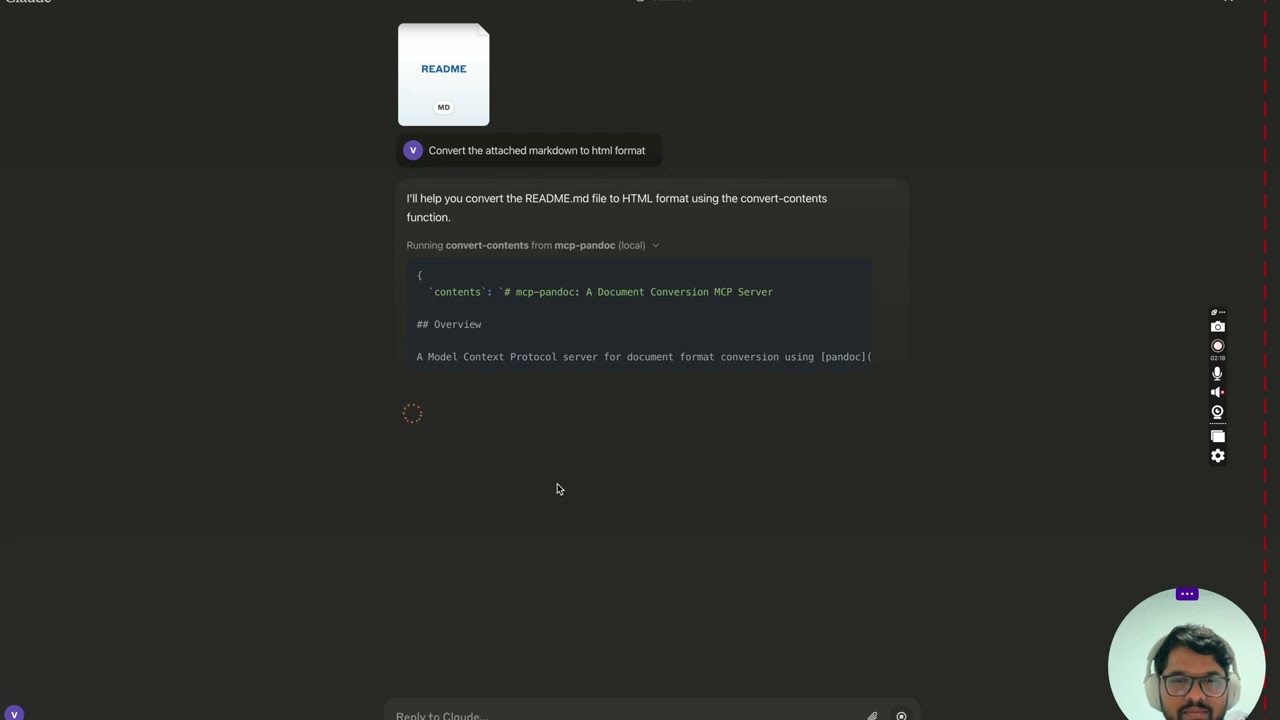
Demo
More to come...
Tools
convert-contents- Transforms content between supported formats
- Inputs:
contents(string): Source content to convert (required if input_file not provided)input_file(string): Complete path to input file (required if contents not provided)input_format(string): Source format of the content (defaults to markdown)output_format(string): Target format (defaults to markdown)output_file(string): Complete path for output file (required for pdf, docx, rst, latex, epub formats)reference_doc(string): Path to a reference document to use for styling (supported for docx output format)defaults_file(string): Path to a Pandoc defaults file (YAML) containing conversion optionsfilters(array): List of Pandoc filter paths to apply during conversion
- Supported input/output formats:
- markdown
- html
- docx
- rst
- latex
- epub
- txt
- ipynb
- odt
- Note: For advanced formats (pdf, docx, rst, latex, epub), an output_file path is required
🔧 Advanced Features
Defaults Files (YAML Configuration)
Use defaults files to create reusable conversion templates with consistent formatting:
yaml# academic-paper.yaml from: markdown to: pdf number-sections: true toc: true metadata: title: "Academic Paper" author: "Research Team"
Example usage: "Convert paper.md to PDF using defaults academic-paper.yaml and save as paper.pdf"
Pandoc Filters
Apply custom filters for enhanced processing:
Example usage: "Convert docs.md to HTML with filters ['/path/to/mermaid-filter.py'] and save as docs.html"
💡 For comprehensive examples and workflows, see CHEATSHEET.md
📊 Supported Formats & Conversions
Bidirectional Conversion Matrix
| From\To | MD | HTML | TXT | DOCX | RST | LaTeX | EPUB | IPYNB | ODT | |
|---|---|---|---|---|---|---|---|---|---|---|
| Markdown | ✅ | ✅ | ✅ | ✅ | ✅ | ✅ | ✅ | ✅ | ✅ | ✅ |
| HTML | ✅ | ✅ | ✅ | ✅ | ✅ | ✅ | ✅ | ✅ | ✅ | ✅ |
| TXT | ✅ | ✅ | ✅ | ✅ | ✅ | ✅ | ✅ | ✅ | ✅ | ✅ |
| DOCX | ✅ | ✅ | ✅ | ✅ | ✅ | ✅ | ✅ | ✅ | ✅ | ✅ |
| RST | ✅ | ✅ | ✅ | ✅ | ✅ | ✅ | ✅ | ✅ | ✅ | ✅ |
| LaTeX | ✅ | ✅ | ✅ | ✅ | ✅ | ✅ | ✅ | ✅ | ✅ | ✅ |
| EPUB | ✅ | ✅ | ✅ | ✅ | ✅ | ✅ | ✅ | ✅ | ✅ | ✅ |
| IPYNB | ✅ | ✅ | ✅ | ✅ | ✅ | ✅ | ✅ | ✅ | ✅ | ✅ |
| ODT | ✅ | ✅ | ✅ | ✅ | ✅ | ✅ | ✅ | ✅ | ✅ | ✅ |
A Note on PDF Support
This tool uses pandoc for conversions, which allows for generating PDF files from the formats listed above. However, converting from a PDF to other formats is not supported. Therefore, PDF should be considered an output-only format.
Format Categories
| Category | Formats | Requirements |
|---|---|---|
| Basic | MD, HTML, TXT, IPYNB, ODT | None |
| Advanced | DOCX, PDF, RST, LaTeX, EPUB | Must specify output_file path |
| Styled | DOCX with reference doc | Custom template support ⭐ |
Requirements by Format
- PDF (.pdf) - requires TeX Live installation
- DOCX (.docx) - supports custom styling via reference documents
- All others - no additional requirements
Note: For advanced formats:
- Complete file paths with filename and extension are required
- PDF conversion requires TeX Live installation (see Critical Requirements section -> For macOS:
brew install texlive) - When no output path is specified:
- Basic formats: Displays converted content in the chat
- Advanced formats: May save in system temp directory (/tmp/ on Unix systems)
Usage & configuration
NOTE: Ensure to complete installing required packages mentioned below under "Critical Requirements".
To use the published one
bash{ "mcpServers": { "mcp-pandoc": { "command": "uvx", "args": ["mcp-pandoc"] } } }
💡 Quick Start: See CHEATSHEET.md for copy-paste examples and common workflows.
⚠️ Important Notes
Critical Requirements
- Pandoc Installation
-
Required: Install
pandoc- the core document conversion engine -
Installation:
bash# macOS brew install pandoc # Ubuntu/Debian sudo apt-get install pandoc # Windows # Download installer from: https://pandoc.org/installing.html -
Verify:
pandoc --version
- UV package installation
-
Required: Install
uvpackage (includesuvxcommand) -
Installation:
bash# macOS brew install uv # Windows/Linux pip install uv -
Verify:
uvx --version
- PDF Conversion Prerequisites: Only needed if you need to convert & save pdf
-
TeX Live must be installed before attempting PDF conversion
-
Installation commands:
bash# Ubuntu/Debian sudo apt-get install texlive-xetex # macOS brew install texlive # Windows # Install MiKTeX or TeX Live from: # https://miktex.org/ or https://tug.org/texlive/
- File Path Requirements
- When saving or converting files, you MUST provide complete file paths including filename and extension
- The tool does not automatically generate filenames or extensions
Examples
✅ Correct Usage:
bash# Converting content to PDF "Convert this text to PDF and save as /path/to/document.pdf" # Converting between file formats "Convert /path/to/input.md to PDF and save as /path/to/output.pdf" # Converting to DOCX with a reference document template "Convert input.md to DOCX using template.docx as reference and save as output.docx" # Step-by-step reference document workflow "First create a reference document: pandoc -o custom-reference.docx --print-default-data-file reference.docx" or if you already have one, use that "Then convert with custom styling: Convert this text to DOCX using /path/to/custom-reference.docx as reference and save as /path/to/styled-output.docx"
❌ Incorrect Usage:
bash# Missing filename and extension "Save this as PDF in /documents/" # Missing complete path "Convert this to PDF" # Missing extension "Save as /documents/story"
Common Issues and Solutions
-
PDF Conversion Fails
- Error: "xelatex not found"
- Solution: Install TeX Live first (see installation commands above)
-
File Conversion Fails
- Error: "Invalid file path"
- Solution: Provide complete path including filename and extension
- Example:
/path/to/document.pdfinstead of just/path/to/
-
Format Conversion Fails
- Error: "Unsupported format"
- Solution: Use only supported formats:
- Basic: txt, html, markdown
- Advanced: pdf, docx, rst, latex, epub
-
Reference Document Issues
- Error: "Reference document not found"
- Solution: Ensure the reference document path exists and is accessible
- Note: Reference documents only work with DOCX output format
- How to create:
pandoc -o reference.docx --print-default-data-file reference.docx
Quickstart
Installing manually via claude_desktop_config.json config file
- On MacOS:
open ~/Library/Application\ Support/Claude/claude_desktop_config.json - On Windows:
%APPDATA%/Claude/claude_desktop_config.json
a) Only for local development & contribution to this repo
ℹ️ Replace with your locally cloned project path
bash"mcpServers": { "mcp-pandoc": { "command": "uv", "args": [ "--directory", "<DIRECTORY>/mcp-pandoc", "run", "mcp-pandoc" ] } }
b) Published Servers Configuration - Consumers should use this config
bash"mcpServers": { "mcp-pandoc": { "command": "uvx", "args": [ "mcp-pandoc" ] } }
- If you face any issue, use the "Published Servers Configuration" above directly instead of this cli.
Note: To use locally configured mcp-pandoc, follow "Development/Unpublished Servers Configuration" step above.
Development
Testing
To run the comprehensive test suite and validate all supported bidirectional conversions, use the following command:
bashuv run pytest tests/test_conversions.py
This ensures backward compatibility and verifies the tool's core functionality.
Building and Publishing
To prepare the package for distribution:
- Sync dependencies and update lockfile:
bashuv sync
- Build package distributions:
bashuv build
This will create source and wheel distributions in the dist/ directory.
- Publish to PyPI:
bashuv publish
Note: You'll need to set PyPI credentials via environment variables or command flags:
- Token:
--tokenorUV_PUBLISH_TOKEN - Or username/password:
--username/UV_PUBLISH_USERNAMEand--password/UV_PUBLISH_PASSWORD
Debugging
Since MCP servers run over stdio, debugging can be challenging. For the best debugging experience, we strongly recommend using the MCP Inspector.
You can launch the MCP Inspector via npm with this command:
bashnpx @modelcontextprotocol/inspector uv --directory /Users/vivekvells/Desktop/code/ai/mcp-pandoc run mcp-pandoc
Upon launching, the Inspector will display a URL that you can access in your browser to begin debugging.
Contributing
We welcome contributions to enhance mcp-pandoc! Here's how you can get involved:
- Report Issues: Found a bug or have a feature request? Open an issue on our GitHub Issues page.
- Submit Pull Requests: Improve the codebase or add features by creating a pull request.


