
RedNote MCP logo

RedNote MCP

CommunityPopular
iFurySt

🚀MCP server for accessing RedNote(XiaoHongShu, xhs).

PublisheriFurySt
RepositoryRedNote-MCP
LanguageTypeScript
Forks
184
Stars
1.1K
Available tools
0
Transport typestdio
Categories
LicenseMIT
Links
  • Connect tools to AI workflows

    RedNote MCP exposes MCP capabilities that can be used by compatible AI clients and agents.

  • 0 available tools

    Browse the callable actions below, including names and descriptions when provided by the server.

  • Ready-to-copy setup

    Use the installation snippets to configure this server in your preferred MCP client.

  • Open source signals

    1.1K stars and 184 forks from the linked repository.

RedNote MCP

English 简体中文 npm

小红书内容访问的MCP服务

https://github.com/user-attachments/assets/06b2c67f-d9ed-4a30-8f1d-9743f3edaa3a

快速开始

开始前确保安装了 playwright 环境:

bash
npx playwright install

NPM 全局安装

bash
# 全局安装
npm install -g rednote-mcp

# 初始化登录,会自动记录cookie到 ~/.mcp/rednote/cookies.json
rednote-mcp init

从源码安装

bash
# 克隆项目
git clone https://github.com/ifuryst/rednote-mcp.git
cd rednote-mcp

# 安装依赖
npm install

# 全局安装(可选,方便命令行调用)
npm install -g .

# 或者直接运行,如初始化登录
npm run dev -- init

功能特性

  • 认证管理(支持 Cookie 持久化)
  • 关键词搜索笔记
  • 命令行初始化工具
  • 通过 URL 访问笔记内容
  • 通过 URL 访问评论内容

使用说明

1. 初始化登录

首次使用需要先进行登录初始化:

bash
rednote-mcp init
# 或者直接从源码run
npm run dev -- init
# 或者mcp-client里选择login

执行此命令后:

  1. 会自动打开浏览器窗口
  2. 跳转到小红书登录页面
  3. 请手动完成登录操作
  4. 登录成功后会自动保存 Cookie 到 ~/.mcp/rednote/cookies.json 文件

2. 在 Cursor 中配置 MCP Server

在 Cursor 的 settings.json 中添加以下配置:

json
{
  "mcpServers": {
    "RedNote MCP": {
      "command": "rednote-mcp",
      "args": [
        "--stdio"
      ]
    }
  }
}

或者使用 npx 方式:

json
{
  "mcpServers": {
    "RedNote MCP": {
      "command": "npx",
      "args": [
        "rednote-mcp",
        "--stdio"
      ]
    }
  }
}

配置说明:

  • command: 可以是全局安装后的 rednote-mcp 命令,或使用 npx 直接运行
  • args: 必须包含 --stdio 参数以支持 Cursor 的通信方式

开发指南

环境要求

  • Node.js >= 16
  • npm >= 7

开发流程

bash
# 安装依赖
npm install

# 构建项目
npm run build

# 开发模式运行
npm run dev

# 运行测试
npm test

使用 MCP Inspector 进行调试

MCP Inspector 是一个用于调试 MCP 服务器的工具,可以帮助开发者检查和验证 MCP 服务器的行为。使用以下命令启动:

bash
npx @modelcontextprotocol/inspector npx rednote-mcp --stdio

这个命令会:

  1. 启动 MCP Inspector 工具
  2. 通过 Inspector 运行 rednote-mcp 服务
  3. 提供一个交互式界面来检查请求和响应
  4. 帮助调试和验证 MCP 协议的实现

注意事项

  1. 首次使用必须执行 init 命令进行登录
  2. Cookie 文件包含敏感信息,避免泄露
  3. 建议定期更新 Cookie,避免失效
  4. 确保已正确安装 Node.js 环境

贡献指南

  1. Fork 本仓库
  2. 创建你的特性分支 (git checkout -b feature/AmazingFeature)
  3. 提交你的改动 (git commit -m 'Add some AmazingFeature')
  4. 推送到分支 (git push origin feature/AmazingFeature)
  5. 开启一个 Pull Request

许可证

MIT License - 详见 LICENSE 文件
Installation

TypingMind
{
  "mcpServers": {
    "ifuryst-rednote-mcp-rednote-mcp": {
      "command": "rednote-mcp",
      "args": [
        "--stdio"
      ]
    }
  }
}

Use RedNote MCP MCP with multiple AI models

TypingMind connects MCP tools at the workspace level, so once RedNote MCP is connected, you can use it with different AI models in TypingMind instead of setting it up separately for each model. This MCP runs locally through the TypingMind MCP connector on your device.

Setup guide to use the local connector

Use this when the MCP server needs access to local files, apps, or private resources on your computer.

1

Open the MCP settings

In TypingMind, go to Settings, Advanced Settings, then Model Context Protocol and choose Setup Connector.

  1. Open TypingMind in your browser.
  2. Click the Settings icon.
  3. Go to Advanced Settings.
  4. Open the Model Context Protocol section.
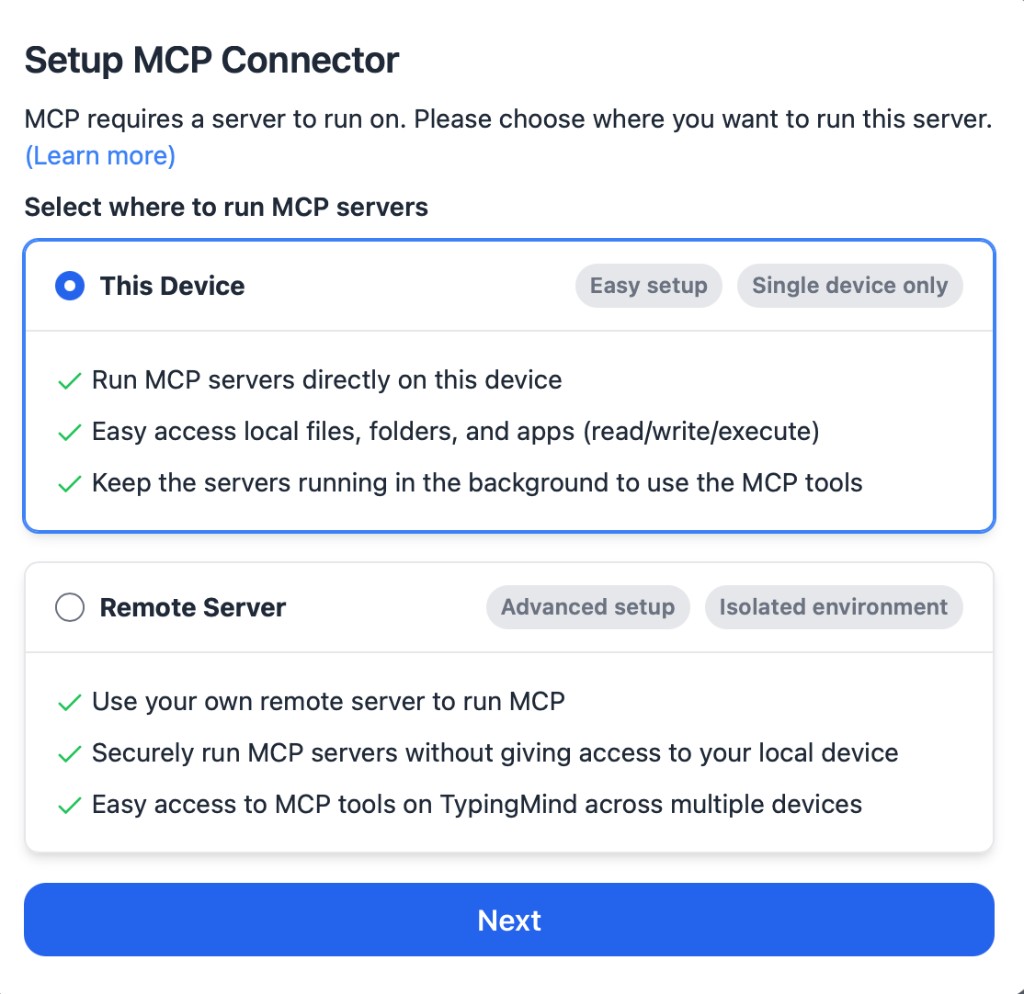
  5. Click Setup Connector and choose This Device.
TypingMind MCP connector setup screen with This Device selected
2

Run the connector command

Choose This Device, copy the command from TypingMind, and run it in Terminal. Keep the process running while you use MCP.

  1. Copy the setup command shown by TypingMind.
  2. Open Terminal on macOS or Windows Terminal on Windows.
  3. Paste and run the command.
  4. Approve the package install if Terminal asks you to proceed.
  5. Keep the Terminal window running while using MCP tools.
3

Add RedNote MCP as a server

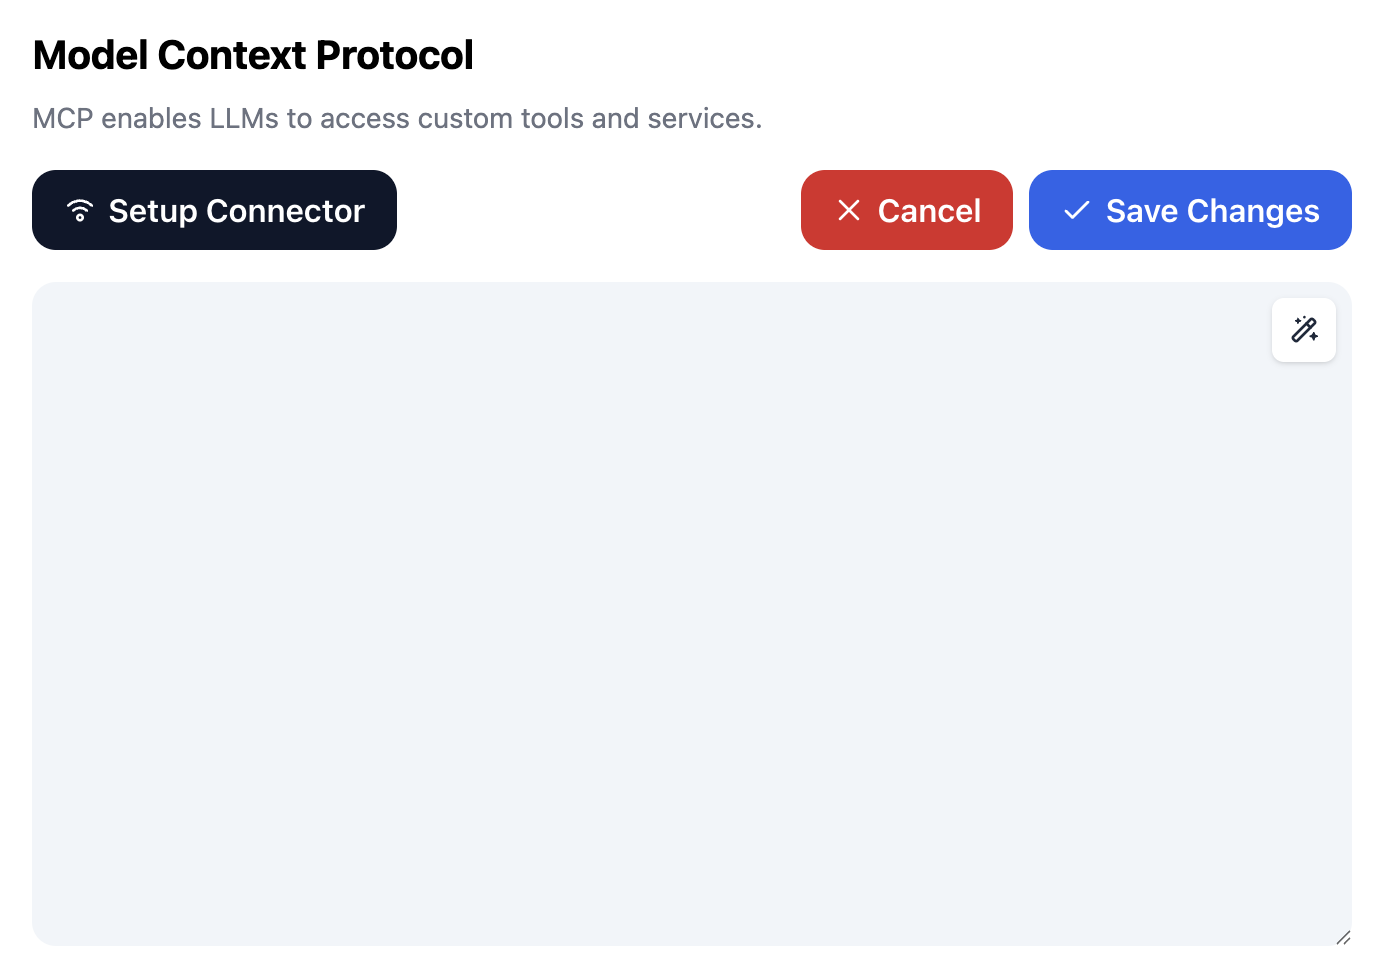
When the connector status is Ready, click Edit Servers and paste the MCP server configuration.

  1. Wait until the connector status shows Ready.
  2. Click Edit Servers.
  3. Paste the RedNote MCP MCP server configuration.
  4. Save the server list.
  5. Refresh if you want to confirm the connector is still ready.
TypingMind MCP settings showing active server and Edit Servers button
{
  "mcpServers": {
    "ifuryst-rednote-mcp-rednote-mcp": {
      "command": "npx",
      "args": [
        "-y",
        "rednote-mcp"
      ]
    }
  }
}
4

Use it across models

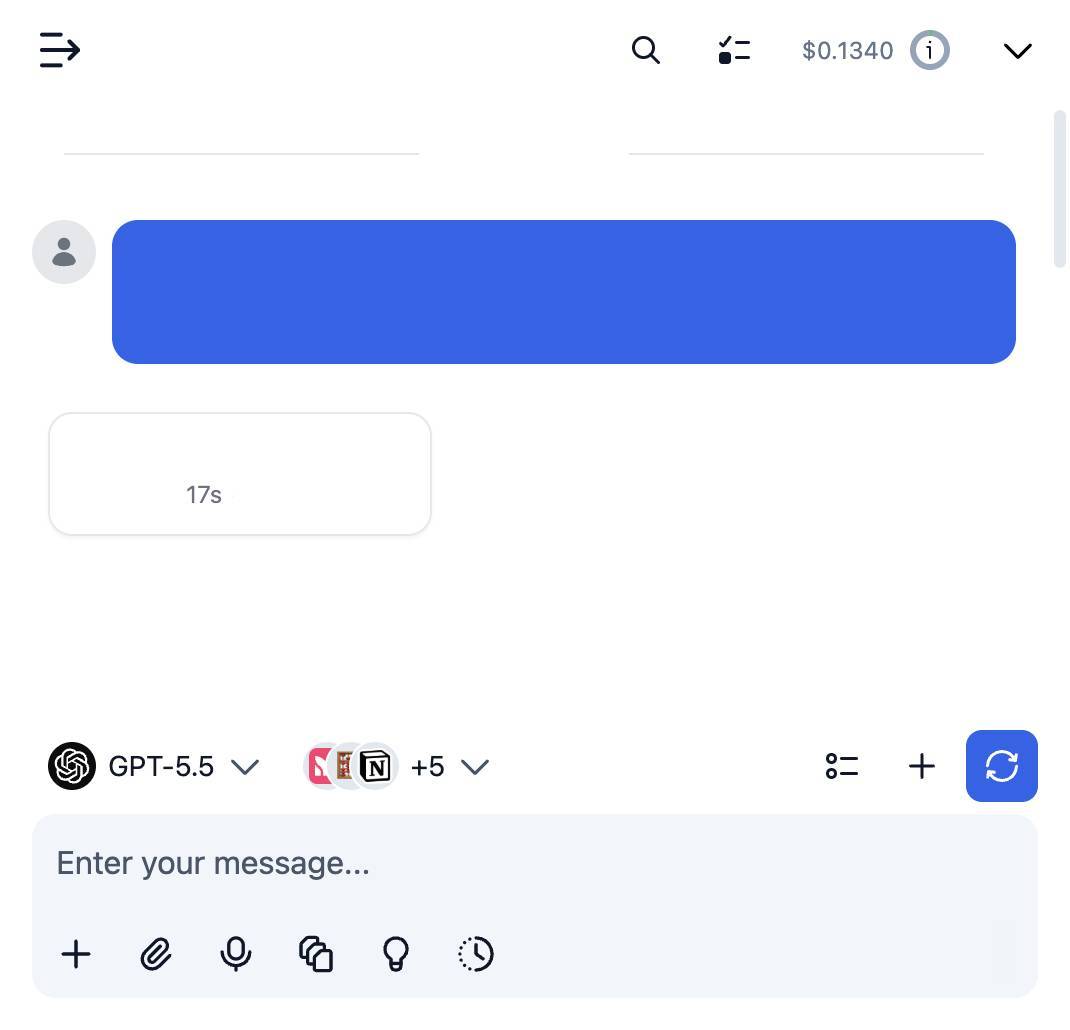
Save the server list, open Plugins, enable the RedNote MCP MCP tools, then select any supported AI model in TypingMind and use the tools in chat or assign them to an AI agent.

  1. Open the Plugins page in TypingMind.
  2. Enable the RedNote MCP MCP tools.
  3. Start a chat and choose the AI model you want to use.
  4. Use the MCP tools in chat or assign them to an AI agent.
  5. Switch to another AI model whenever needed without reconnecting MCP.
TypingMind chat using enabled MCP tools with a selected AI model
Can you use RedNote MCP to help me with this task?
RedNote MCP
Sure. I read it.
Here is what I found using RedNote MCP.

Frequently asked questions

What is the RedNote MCP MCP server used for?

RedNote MCP is an MCP server that lets compatible AI clients connect to external tools and context. In TypingMind, you can add this MCP server once and make its tools available in your AI workspace.

Can I use RedNote MCP MCP with multiple AI models in TypingMind?

Yes. TypingMind connects MCP tools at the workspace level, so you can use RedNote MCP with different AI models such as Claude, ChatGPT, Gemini, or other models you have configured in TypingMind without setting up the MCP server separately for each model.

Why use RedNote MCP MCP with TypingMind?

TypingMind is one of the best frontends for LLM chat because it brings multiple AI models, prompts, plugins, AI agents, API keys, and MCP tools into one workspace. With RedNote MCP connected, you can use its MCP tools across your preferred models while keeping your chat workflow organized in TypingMind.

How do I connect RedNote MCP MCP to TypingMind?

RedNote MCP runs through the TypingMind local MCP connector. This is best when the MCP server needs access to local files, desktop apps, command-line tools, or private resources on your computer.

What tools does RedNote MCP MCP provide in TypingMind?

RedNote MCP exposes MCP capabilities that can be enabled from the TypingMind Plugins page and used in chat or assigned to AI agents.

Do I need to share my API keys with TypingMind to use RedNote MCP MCP?

No. TypingMind is local-first and lets you keep your model providers, API keys, prompts, and MCP configuration under your control. If RedNote MCP requires authentication, add the required headers, OAuth settings, or local configuration for that MCP server when you create the connection.

Related MCP Servers

View all

Set up your own AI workspace now

Get notified about new features and future giveaways by subscribing to our newsletter 👇