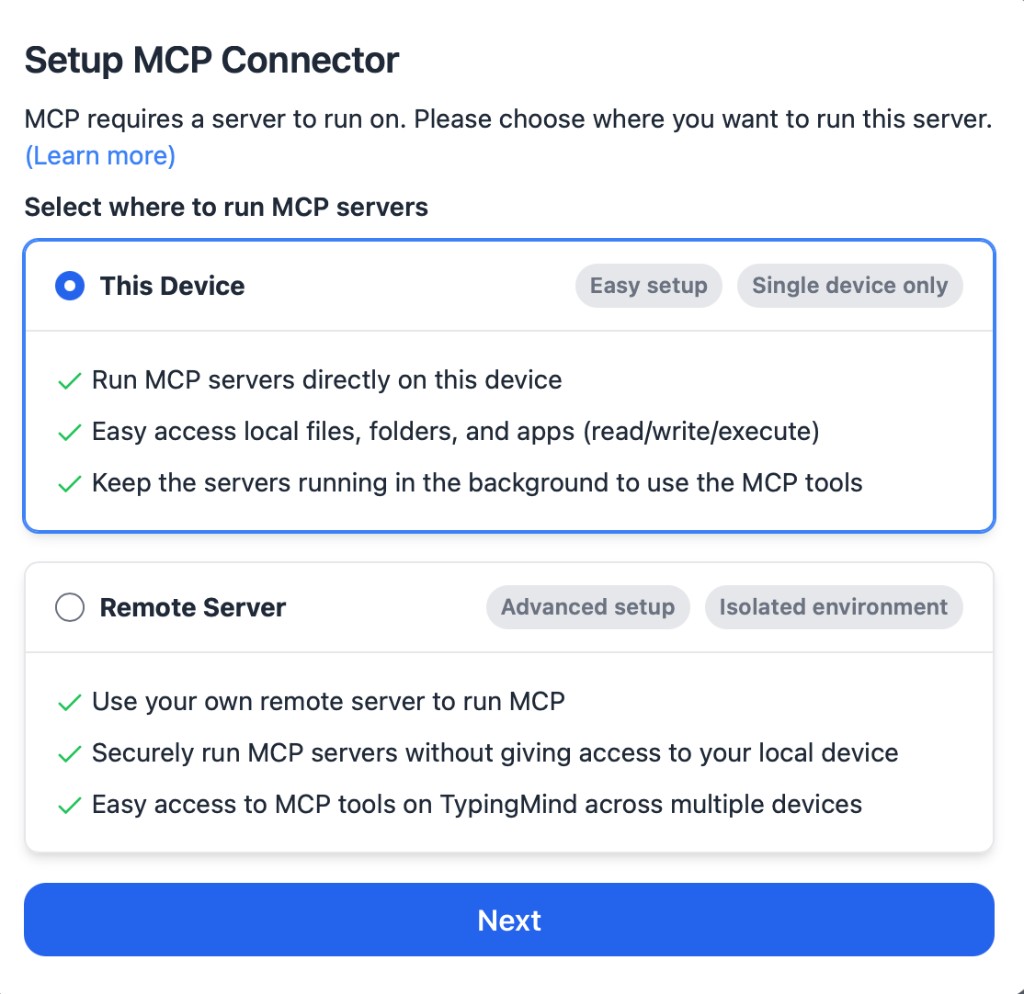
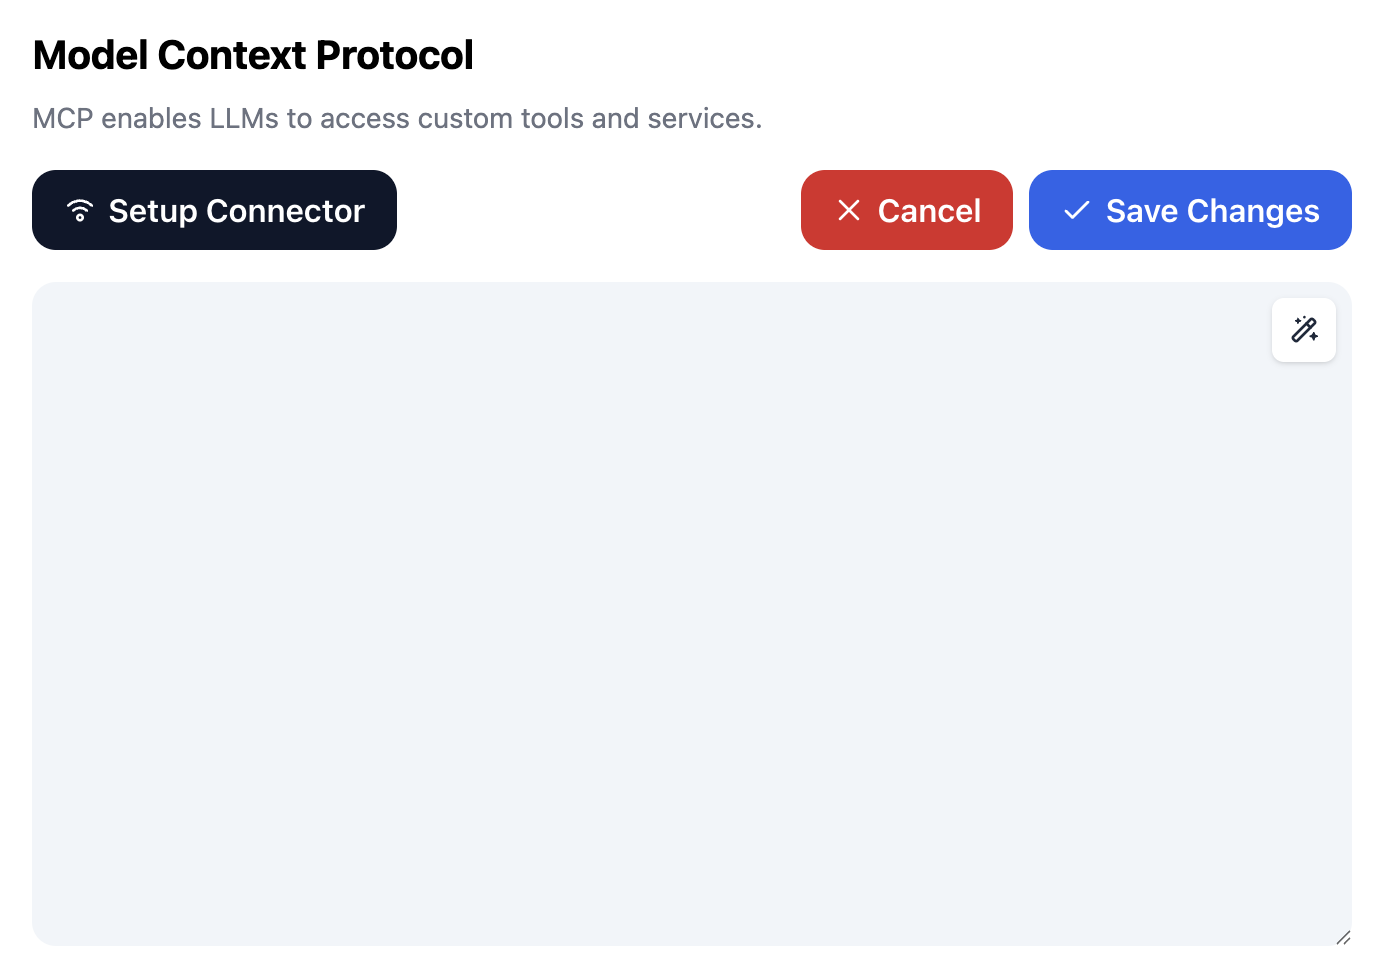
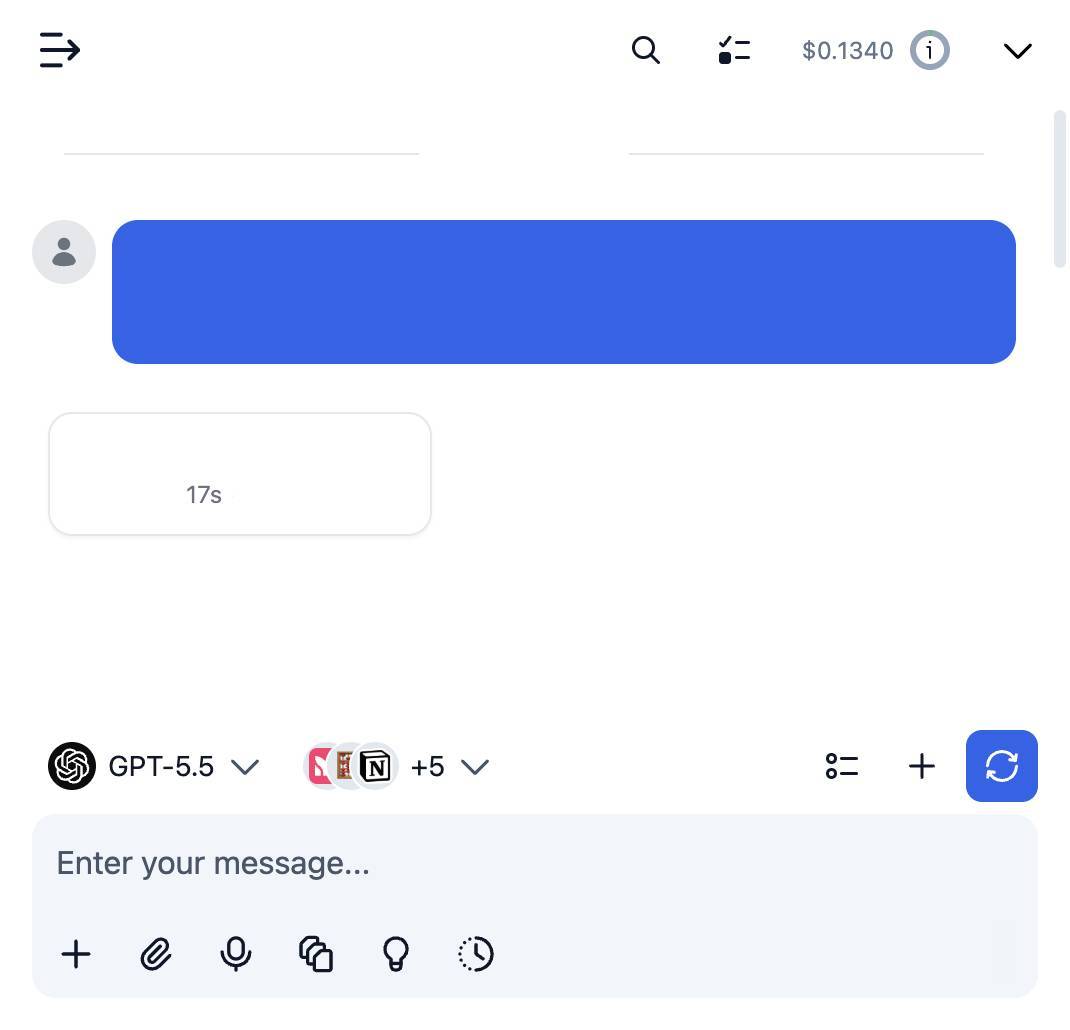
MindsHub is an agent workspace for completing knowledge work and developing software, with open-source agent harnesses and a choice of models.



Website · Docs · Web app · Pricing · Discord
MindsHub gives you the freedom to choose among models and providers instead of being locked into one ecosystem. Use its agent workspace for research, analysis, content creation, and software development. It is open source and can run on your machine, in your VPC, or through the hosted app.
This repository is the platform superproject: it pulls together the desktop/web app, the agent backend, and the data engine so you can build and run the whole stack from source.
For building intelligence into agents and products through one API, see MindsHub Inference. It provides a choice of models and providers with one set of controls and one bill.
Get started
Pick whichever fits:
- Web — nothing to install. Open console.mindshub.ai and sign in.
- macOS. Download the desktop app (
.pkg). - Windows. Download the desktop app (
.exe). - Linux. Build from source.
Free to start. Pro adds all frontier models and private artifacts — see pricing.
What you can do
For every knowledge worker — creators, strategists, and operators:
- Automate repetitive, multi-step work that involves reading and writing: reports, monitoring, recurring workflows, and scheduled operations.
- Build internal AI tools and artifacts — apps, dashboards, decks, docs, analyses — without engineering, and publish them to a live URL to share with your team.
What's inside
- Connected data. A secure vault links systems like BigQuery, Postgres, Gmail, Drive, HubSpot, Notion, and Linear. Credentials stay scoped per connection — agents never see raw keys.
- Model Router. Switch between frontier models (Claude, GPT, Gemini) and open models (DeepSeek, Qwen, Kimi) without wiring up a key for each provider.
- Open agents. Run interchangeable open-source harnesses — Anton (default) and Hermes — swappable from a dropdown.
- Artifacts. Turn agent output into documents, dashboards, apps, and code, and publish to a live URL.
- Memory, skills & scheduling. Cross-session memory, a reusable skill library, and tasks that run on a schedule.
Build from source
1. Clone the repository
bashgit clone --recurse-submodules https://github.com/mindsdb/minds.git cd minds
2. Install dependencies
bashmake setup
3. Run
| Mode | Command |
|---|---|
| Desktop app (Electron) with hot reload | make dev or make watch |
| Web app in browser with hot reload | make dev-web |
| Production build | make build |
| Package for macOS | make dist-mac |
| Package for Windows | make dist-win |
Build macOS .app from local uncommitted source | make pack-local |
| Wipe all local installs + data (fresh start) | make flush |
Fresh start:
make flushremoves the local runtime (thecowork-serveruv tool and thebackend/*/.venvs) and deletes app state in~/.anton(provider keys) and~/.cowork(database, hermes, projects). Use it to test the from-scratch install flow or recover from a broken install. It prompts for confirmation — passFORCE=1to skip. The nextmake setupor app launch reinstalls everything. ⚠️ This deletes your conversations and saved keys.
Working on feature branches (submodules)
This repo is a superproject that pins each module (frontend, backend/core_api, backend/core_agent, backend/data-vault) to a commit. To work on module branches without polluting git status or fighting over pins:
1. Pick your branches in a gitignored dev.env (copy the template):
bashcp dev.env.example dev.env # then set REF=feat/my-thing (or per-module API_REF=…)
2. make follows it — one knob, both run paths:
| Command | What it does |
|---|---|
make use | check out your dev.env refs across all submodules |
make dev / make watch | run the Electron app with live reload against local source |
make dev-web | run the web SPA with live reload against local source |
make server + make app | (re)install the desktop server from the configured branch, then launch |
make server-local + make app-local | install the desktop server from local uncommitted source, then launch |
make pack-local | build the macOS .app from local uncommitted source (no push needed) |
make refs | show which refs the next run will use |
make baseline | reset submodules to the pinned commits |
make pin | record the current submodule commits as the superproject's pins (one deliberate commit) |
Submodules are configured with ignore = all, so your branch work never shows up as superproject changes — the parent git status stays clean. Pins move only via make pin. See CLAUDE.md for the full workflow.
Deploy anywhere
MindsHub is built for flexible deployment — cloud, VPC, on-prem, air-gapped, and hybrid infrastructure — so you keep full control over your infrastructure, models, permissions, and data.
Help & support
- Ask a question — join the Discord community.
- Report a bug — open a GitHub issue with reproduction steps.
- Read the docs — guides, setup, and the API at docs.mindshub.ai.
- Enterprise SLAs or custom deployments — contact the team.
🤝 Contribute
MindsHub is open source and contributions are welcome — code, integrations, docs, bug reports, and feature ideas. Read the docs to get set up, browse open issues, and say hi on Discord.
🔒 Security
Found a security vulnerability? Please don't open a public issue. Report it privately through our security policy.
📚 Resources
📄 License
This repository is released under the MIT License. Bundled components are governed by their own licenses — see each submodule's repository for details.