PostHog is the open source platform for building self-driving products
PostHog provides every tool you need to build a successful product, and captures all the context agents need to proactively diagnose problems, uncover opportunities, and ship fixes:
- Self-driving mode: Turn signals in your product data (errors, rage clicks, failed queries, and more) into researched reports and pull requests you review and merge.
- Product analytics: Autocapture or manually instrument event-based analytics to understand user behavior and analyze data with visualization or SQL.
- Web analytics: Monitor web traffic and user sessions with a GA-like dashboard. Easily monitor conversion, web vitals, and revenue.
- Session replays: Watch real user sessions of interactions with your website or mobile app to diagnose issues and understand user behavior.
- Feature flags: Safely roll out features to select users or cohorts with feature flags.
- Experiments: Test changes and measure their statistical impact on goal metrics. Set up experiments with no-code too.
- Error tracking: Track errors, get alerts, and resolve issues to improve your product.
- Logs: Ingest, search, and analyze log data alongside the rest of your product data.
- Surveys: Ask anything with our collection of no-code survey templates, or build custom surveys with our survey builder.
- Data warehouse: Sync data from external tools like Stripe, Hubspot, your data warehouse, and more. Query it alongside your product data.
- Data pipelines: Run custom filters and transformations on your incoming data. Send it to 25+ tools or any webhook in real time or batch export large amounts to your warehouse.
- AI observability: Capture traces, generations, latency, and cost for your LLM-powered app.
- Workflows: Create workflows that automate actions or send messages to your users.
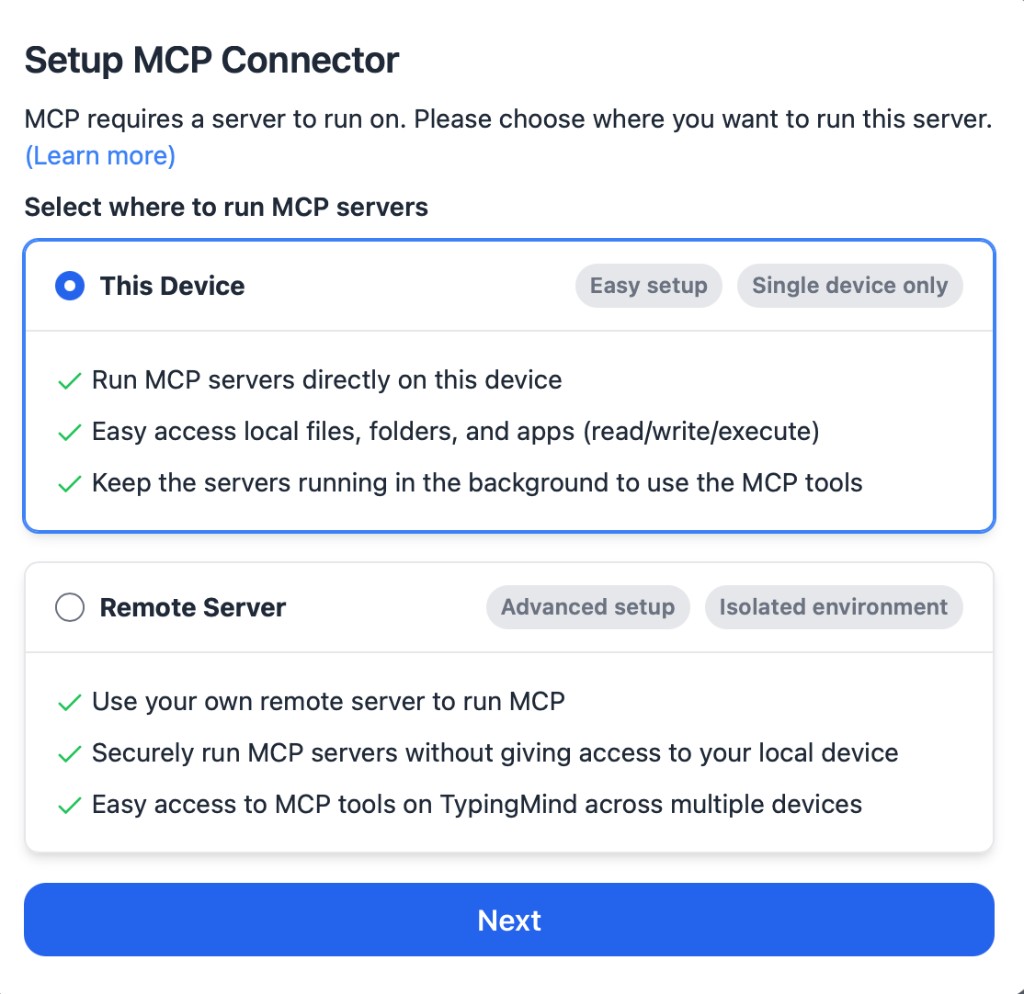
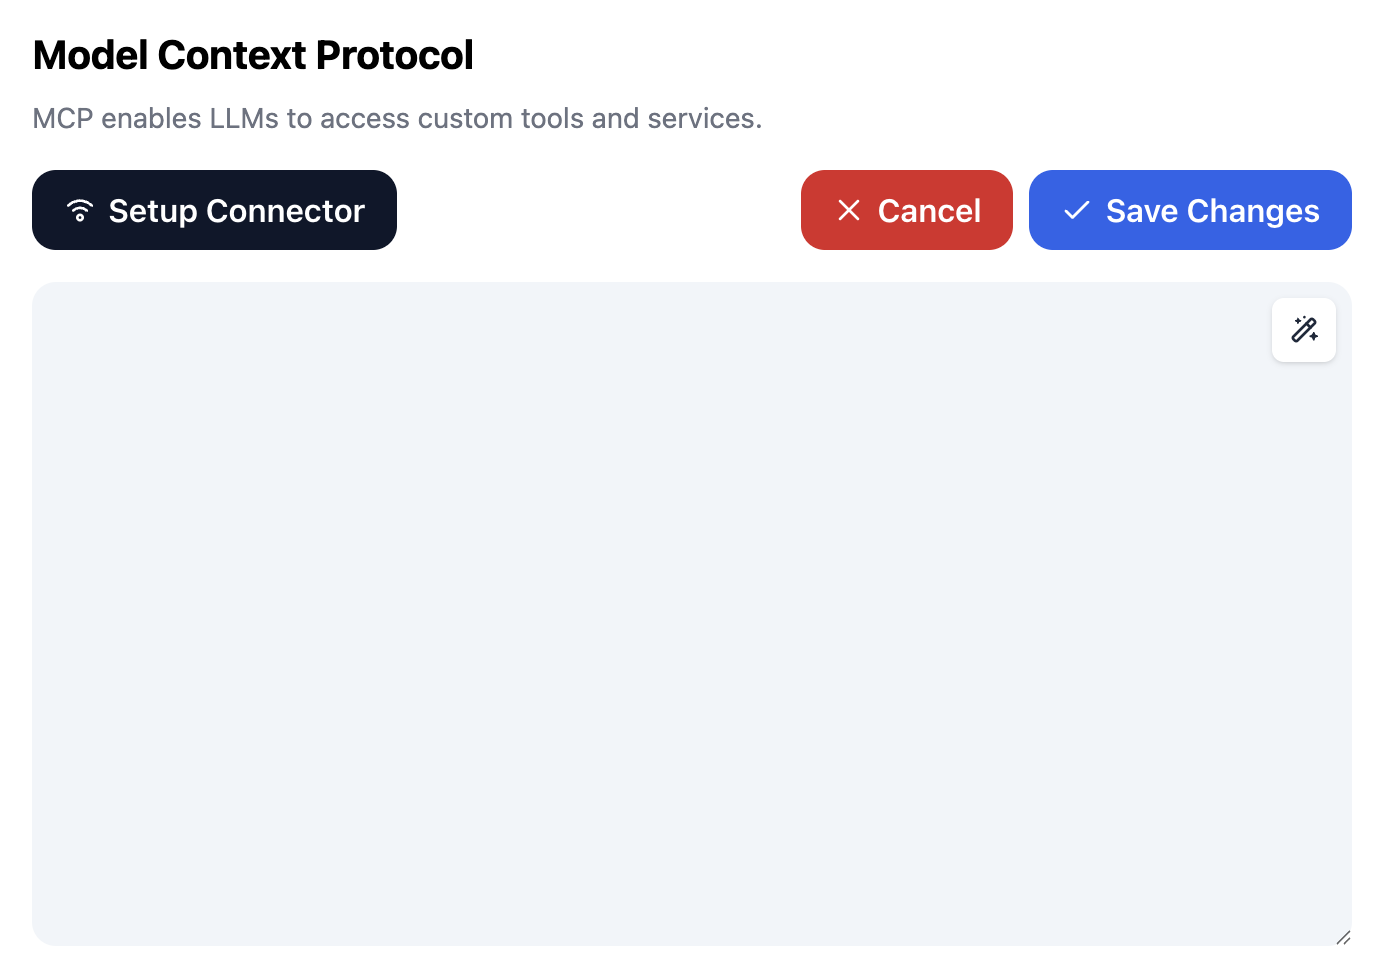
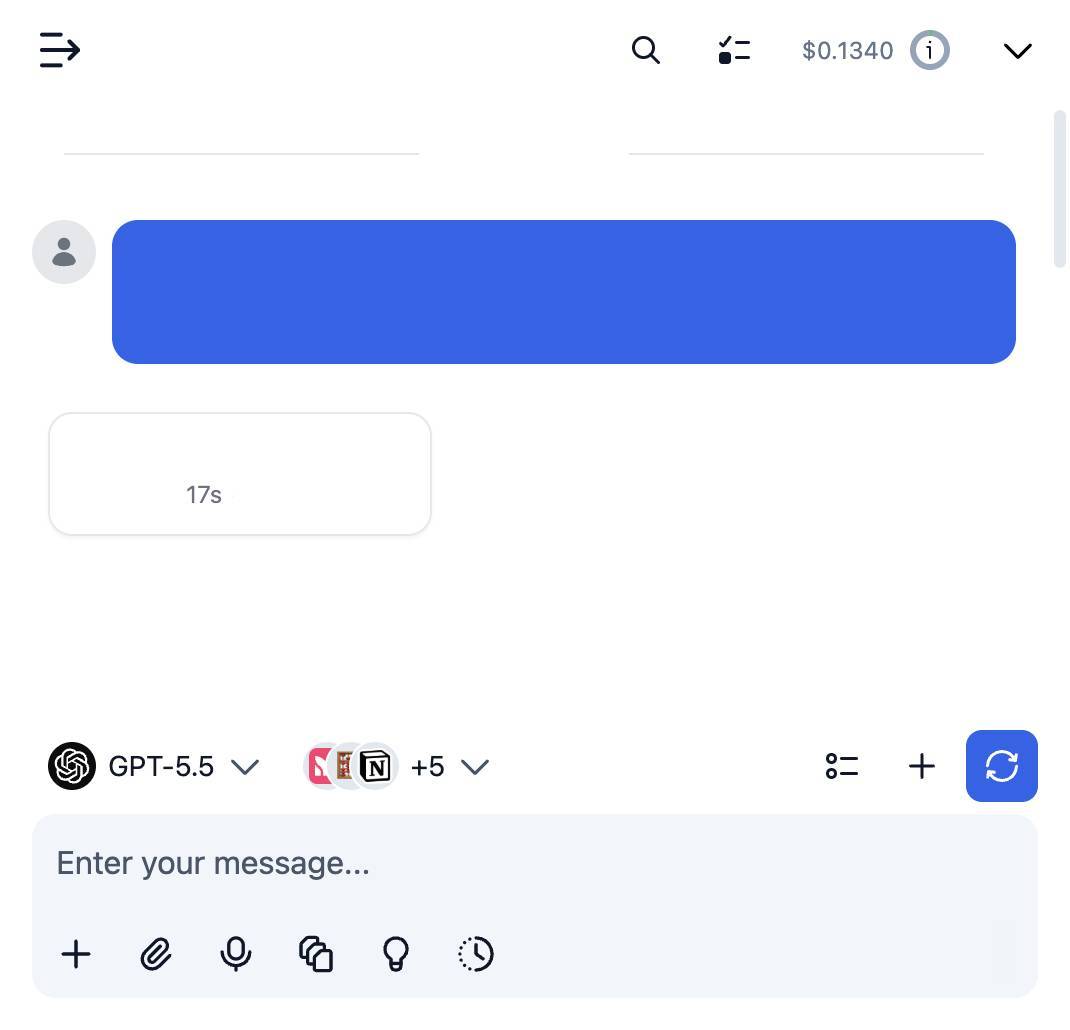
You can steer it all from Slack, web, desktop (PostHog Desktop), or your own editor via the MCP.
Best of all, all of this is free to use with a generous monthly free tier for each tool. Get started by signing up for PostHog Cloud US or PostHog Cloud EU.
Table of Contents
- PostHog is the open source platform for building self-driving products
- Table of Contents
- Getting started with PostHog
- Setting up PostHog
- Learning more about PostHog
- Contributing
- Open-source vs. paid
- We’re hiring!
Getting started with PostHog
PostHog Cloud (Recommended)
The fastest and most reliable way to get started with PostHog is signing up for free to PostHog Cloud or PostHog Cloud EU. Your first 1 million events, 5k recordings, 1M flag requests, 100k exceptions, and 1500 survey responses are free every month, after which you pay based on usage.
Self-hosting the open-source hobby deploy (Advanced)
If you want to self-host PostHog, you can deploy a hobby instance in one line on Linux with Docker (recommended 4GB memory):
bash/bin/bash -c "$(curl -fsSL https://raw.githubusercontent.com/posthog/posthog/HEAD/bin/deploy-hobby)"
Open source deployments should scale to approximately 100k events per month, after which we recommend migrating to a PostHog Cloud.
We do not provide customer support or offer guarantees for open source deployments. See our self-hosting docs, troubleshooting guide, and disclaimer for more info.
Setting up PostHog
Once you've got a PostHog instance, you can set it up by installing our JavaScript web snippet, one of our SDKs, or by using our API. You can also connect the MCP to bring PostHog into Claude Code, Cursor, or any MCP-compatible agent.
We have SDKs and libraries for popular languages and frameworks like:
Beyond this, we have docs and guides for Go, .NET/C#, Django, Angular, WordPress, Webflow, and more.
Once you've installed PostHog, see our product docs for more information on how to set up product analytics, web analytics, session replays, feature flags, experiments, error tracking, surveys, data warehouse, and more.
Learning more about PostHog
Our code isn't the only thing that's open source 😳. We also open source our company handbook which details our strategy, ways of working, and processes.
Curious about how to make the most of PostHog? We wrote a guide to winning with PostHog which walks you through the basics of measuring activation, tracking retention, and capturing revenue.
Contributing
We <3 contributions big and small:
- Vote on features or get early access to beta functionality in our roadmap
- Open a PR (see our instructions on developing PostHog locally)
- Submit a feature request on our roadmap or a bug report
For an overview of the codebase structure, see monorepo layout and products.
Open-source vs. paid
This repo is available under the MIT expat license, except for the ee directory (which has its license here) if applicable.
Need absolutely 💯% FOSS? Check out our posthog-foss repository, which is purged of all proprietary code and features.
The pricing for our paid plan is completely transparent and available on our pricing page.
We're hiring!
Hey! If you're reading this, you've proven yourself as a dedicated README reader.
You might also make a great addition to our team. We're growing fast and would love for you to join us.