Todo for AI







中文版本 | English
🚀 A powerful task management system specifically designed for AI assistants, supporting intelligent project management, automated task tracking, and seamless team collaboration through MCP (Model Context Protocol) integration.
🚀 Try it now: Visit https://todo4ai.org/ to experience our product!
🤖 Why Todo for AI?
Todo for AI bridges the gap between AI assistants and human productivity workflows. Unlike traditional task management tools, our system is built from the ground up to work seamlessly with AI agents through the Model Context Protocol (MCP).
🎯 Core Value Propositions
- 🔗 Native AI Integration: First-class support for AI assistants through MCP, enabling natural language task management
- 🧠 Intelligent Automation: AI agents can create, update, and manage tasks autonomously based on context and user needs
- 📊 Smart Project Insights: AI-powered analytics and recommendations for better project planning and execution
- 🔄 Seamless Workflow: Bridge between AI capabilities and human oversight with intelligent task delegation
- 🌐 Universal Compatibility: Works with Claude, GPT, and other AI assistants through standardized MCP protocol
- ⚡ Real-time Collaboration: Instant synchronization between AI agents and human team members
🚀 Perfect For
- AI-First Teams building the future of work
- Developers integrating AI assistants into their workflows
- Product Managers coordinating between AI agents and human teams
- Researchers managing complex AI-driven projects
- Anyone looking to supercharge their productivity with AI assistance
📸 Screenshots & Demo
🖥️ Web Interface
 Modern, intuitive dashboard for project and task management
 Comprehensive task management with AI integration
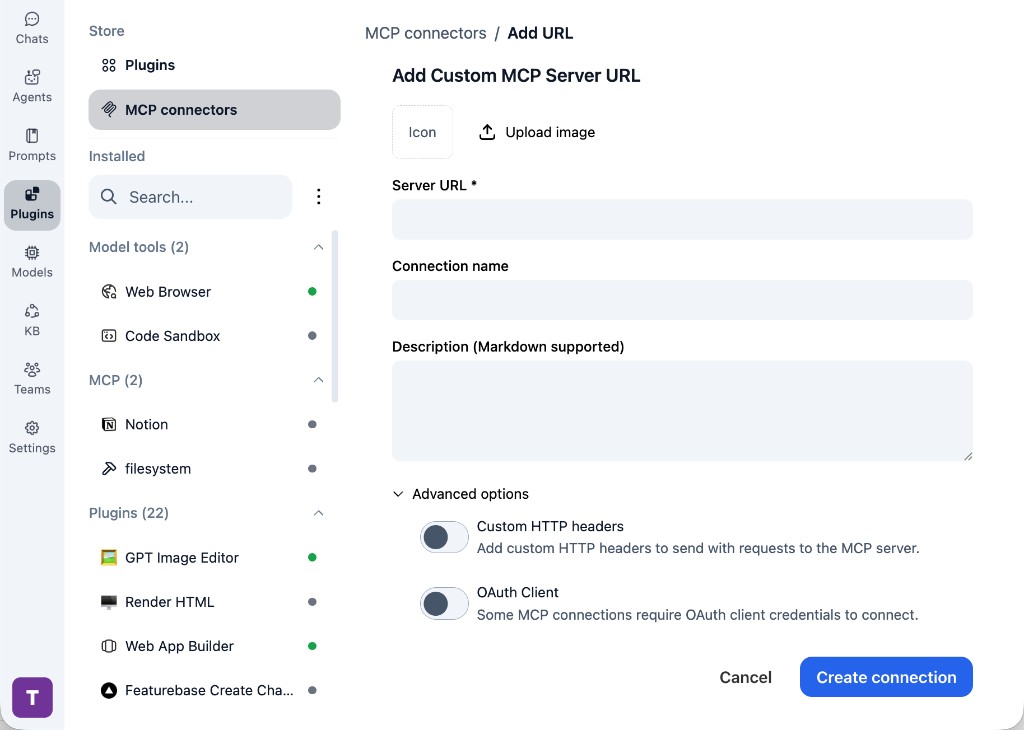
 Seamless AI assistant integration through MCP
🎬 Demo Video
Click to watch a full demo of Todo for AI in action
✨ Key Features in Action
- 🤖 AI-Powered Task Creation: Watch AI assistants create and organize tasks naturally
- 📊 Real-time Analytics: See project progress and insights update live
- 🔄 Seamless Collaboration: Experience smooth coordination between AI and human team members
- 🎯 Smart Prioritization: Observe AI-driven task prioritization and scheduling
📁 Project Structure
This project uses Git Submodule architecture, splitting different modules into independent repositories:
- todo-for-ai-api-server/: Backend API server → todo-for-ai-api-server
- todo-for-ai-webpage/: Frontend web application → todo-for-ai-webpage
- todo-for-ai-mcp/: MCP server → todo-for-ai-mcp
📚 Architecture & Specs
🚀 Installation & Quick Start
Choose your preferred installation method:
🐳 Option 1: Docker (Recommended)
The fastest way to get started - everything included in one container:
bash# Pull and run the latest image docker run -d --name todo-for-ai \ -p 50111:80 \ -p 50110:50110 \ -e DATABASE_URL="mysql+pymysql://username:password@host.docker.internal:3306/todo_for_ai" \ -e GMAIL_USER="your-email@gmail.com" \ -e GMAIL_PASSWORD="your-app-password" \ -e GITHUB_TOKEN="your-github-token" \ -e SECRET_KEY="your-secret-key-here" \ -e JWT_SECRET_KEY="your-jwt-secret-key-here" \ --add-host=host.docker.internal:host-gateway \ todoforai/todo-for-ai:latest # Access the application # Frontend: http://localhost:50111/todo-for-ai/pages/projects # API: http://localhost:50110/todo-for-ai/api/v1/
📦 Option 2: MCP Package Only
If you only need the MCP server for AI assistant integration:
bash# Install via npm npm install -g @todo-for-ai/mcp # Or install locally npm install @todo-for-ai/mcp # Configure and start todo-for-ai-mcp --config config.json
🛠️ Option 3: Development Setup
For developers who want to contribute or customize:
bash# 1. Clone the project (including submodules) git clone --recursive https://github.com/todo-for-ai/todo-for-ai.git cd todo-for-ai # 2. Initialize submodules (if not using --recursive) git submodule update --init --recursive # 3. Set up environment variables cp .env.example .env # Edit .env with your configuration # 4. Start with Docker Compose docker-compose up -d # Or build and run manually docker build -t todo-for-ai:latest . docker run -d --name todo-for-ai [environment variables] todo-for-ai:latest
⚡ Option 4: Source Installation
For advanced users who prefer manual setup:
bash# 1. Clone and setup git clone --recursive https://github.com/todo-for-ai/todo-for-ai.git cd todo-for-ai # 2. Backend setup cd todo-for-ai-api-server pip install -r requirements.txt python app.py # 3. Frontend setup (new terminal) cd ../todo-for-ai-webpage npm install npm run build npm run preview # 4. MCP server setup (new terminal) cd ../todo-for-ai-mcp npm install npm run build npm start
✅ Runtime E2E Validation (Local)
From repository root, you can run one-shot runtime validation:
bash# auto-create one AI task and verify commit -> DONE ./scripts/runtime_e2e_once.sh # strict mode: first observed commit must match the target task TARGET_TASK_ID=123456 STRICT_TARGET_ONLY=true ./scripts/runtime_e2e_once.sh
This wrapper calls agent-runtime/scripts/run_docker_e2e_once.sh and works with Colima/Docker local environments.
🎯 Quick Start Examples
🤖 Using with AI Assistants (MCP)
Once installed, you can immediately start using Todo for AI with your favorite AI assistant:
javascript// Example: Claude Desktop MCP Configuration { "mcpServers": { "todo-for-ai": { "command": "npx", "args": ["@todo-for-ai/mcp"], "env": { "TODO_API_URL": "http://localhost:50110/todo-for-ai/api/v1", "TODO_API_KEY": "your-api-key" } } } }
bash# Example AI Commands (Natural Language) "Create a new project called 'Website Redesign'" "Add a task 'Design homepage mockup' to the Website Redesign project" "List all my pending tasks" "Mark the homepage mockup task as completed" "Show me project progress for this week"
🌐 Web Interface Usage
bash# 1. Access the web interface open http://localhost:50111/todo-for-ai/pages/projects # 2. Login with GitHub OAuth or create account # 3. Create your first project # 4. Add tasks and start collaborating with AI assistants
🔧 API Integration
javascript// Example: Creating a project via API const response = await fetch('http://localhost:50110/todo-for-ai/api/v1/projects', { method: 'POST', headers: { 'Content-Type': 'application/json', 'Authorization': 'Bearer your-jwt-token' }, body: JSON.stringify({ name: 'My AI Project', description: 'A project managed by AI assistants' }) }); // Example: Adding a task const taskResponse = await fetch('http://localhost:50110/todo-for-ai/api/v1/tasks', { method: 'POST', headers: { 'Content-Type': 'application/json', 'Authorization': 'Bearer your-jwt-token' }, body: JSON.stringify({ project_id: 1, title: 'Implement user authentication', content: 'Add OAuth integration for secure user login', priority: 'high', is_ai_task: true }) });
📱 MCP Server Configuration
json// config.json for MCP server { "server": { "host": "localhost", "port": 3001 }, "api": { "baseUrl": "http://localhost:50110/todo-for-ai/api/v1", "timeout": 30000 }, "auth": { "type": "jwt", "token": "your-jwt-token" }, "features": { "autoCreateProjects": true, "smartTaskBreakdown": true, "contextualInsights": true } }
🚀 Docker Deployment
1. Build image
bashdocker build -t todo-for-ai:latest .
2. Start container
bashdocker run -d --name todo-for-ai \ -p 50111:80 \ -p 50110:50110 \ -e DATABASE_URL="mysql+pymysql://username:password@host.docker.internal:3306/todo_for_ai" \ -e GMAIL_USER="your-email@gmail.com" \ -e GMAIL_PASSWORD="your-app-password" \ -e GITHUB_TOKEN="your-github-token" \ -e SECRET_KEY="your-secret-key-here" \ -e JWT_SECRET_KEY="your-jwt-secret-key-here" \ --add-host=host.docker.internal:host-gateway \ todo-for-ai:latest
3. Access URLs
- Frontend: http://localhost:50111/todo-for-ai/pages/projects
- API: http://localhost:50110/todo-for-ai/api/v1/
4. Environment Variables
| Variable | Description |
|---|---|
| DATABASE_URL | Database connection string |
| GMAIL_USER | Gmail email address |
| GMAIL_PASSWORD | Gmail app password |
| GITHUB_TOKEN | GitHub access token |
| GITHUB_CLIENT_ID | GitHub OAuth app ID |
| GITHUB_CLIENT_SECRET | GitHub OAuth app secret |
| SECRET_KEY | Flask secret key |
| JWT_SECRET_KEY | JWT secret key |
🔧 Configuration
GitHub OAuth App Setup
- Visit GitHub Developer Settings
- Click "New OAuth App"
- Fill in application information:
- Application name: Todo for AI
- Homepage URL: http://localhost:50111
- Authorization callback URL: http://localhost:50110/todo-for-ai/api/v1/auth/callback
- Get
Client IDandClient Secretafter creation
Gmail App Password Setup
- Login to Gmail account
- Go to "Manage your Google Account"
- Select "Security" → "2-Step Verification"
- Generate "App passwords"
GitHub Token Setup
- Login to GitHub
- Go to Settings → Developer settings → Personal access tokens
- Generate new token with appropriate permissions
✨ Key Features
🎯 Core Task Management
- 📋 Smart Project Organization - Hierarchical project and task structure with AI-powered categorization
- ✅ Intelligent Task Tracking - Real-time status updates with automated progress monitoring
- 🏷️ Dynamic Tagging System - Flexible labeling with AI-suggested tags for better organization
- ⏰ Smart Scheduling - AI-assisted deadline management and priority optimization
- 📊 Progress Analytics - Visual dashboards with AI-generated insights and recommendations
🤖 AI Integration
- 🔌 MCP Protocol Support - Native integration with Claude, GPT, and other AI assistants
- 🗣️ Natural Language Interface - Create and manage tasks using conversational commands
- 🧠 Intelligent Automation - AI agents can autonomously manage tasks based on context
- 📝 Smart Task Generation - AI-powered task breakdown and subtask creation
- 🔍 Contextual Insights - AI-driven project analysis and optimization suggestions
👥 Collaboration & Communication
- 🔐 Secure Authentication - Multi-factor authentication with GitHub OAuth integration
- 📧 Smart Notifications - Intelligent email alerts with customizable triggers
- 🔄 Real-time Sync - Instant updates across all connected AI agents and team members
- 💬 Integrated Feedback - Seamless communication between AI assistants and human users
- 🌐 Cross-platform Access - Web interface with API access for custom integrations
🛠️ Developer Experience
- 🐳 Docker Ready - One-command deployment with full containerization
- 🔧 RESTful API - Comprehensive API for custom integrations and extensions
- 📚 Rich Documentation - Detailed guides for setup, usage, and customization
- 🔒 Enterprise Security - Production-ready security features and compliance
- 🚀 Scalable Architecture - Microservices design for high-performance deployments
🔍 Troubleshooting
Common Issues
1. Database Connection Failed
bash# Check if database is running mysql -u username -p -h localhost # Check container logs docker logs todo-for-ai
2. Port Already in Use
bash# Check port usage lsof -i :50110 lsof -i :50111 # Kill process kill -9 <PID>
3. Frontend Page Cannot Load
bash# Check nginx configuration docker exec todo-for-ai nginx -t # Restart nginx docker exec todo-for-ai supervisorctl restart nginx
4. API Authentication Failed
- Check if environment variables are set correctly
- Confirm Gmail app password format is correct
- Verify GitHub Token permissions
Log Viewing
bash# View all logs docker logs todo-for-ai # View Flask logs docker exec todo-for-ai tail -f /var/log/supervisor/flask.out.log # View Nginx logs docker exec todo-for-ai tail -f /var/log/nginx/access.log
🧪 Testing
API Testing
bash# Test backend health curl http://localhost:50110/ # Test API proxy curl http://localhost:50111/todo-for-ai/api/v1/projects # Test frontend page curl http://localhost:50111/todo-for-ai/pages/projects
Functional Testing
- Access frontend page
- Try login functionality
- Create projects and tasks
- Test email notifications
🚀 Production Deployment
Security Configuration
- Use Strong Passwords: Ensure database and application keys are complex enough
- HTTPS Configuration: Configure SSL certificates for production environment
- Firewall Settings: Restrict unnecessary port access
- Regular Backups: Set up automatic database backups
Performance Optimization
- Resource Limits: Set memory and CPU limits for containers
- Load Balancing: Configure load balancing for multi-instance deployment
- Cache Configuration: Consider adding Redis cache
- Monitoring & Alerting: Configure application monitoring and alerting
🤝 Contributing
Issues and Pull Requests are welcome!
Development Workflow
- Fork the project
- Create a feature branch
- Commit your changes
- Create a Pull Request
Git and File Management
.gitignore Configuration
The project uses comprehensive .gitignore files to prevent sensitive data and build artifacts from being committed:
- Root
.gitignore: Main project-level ignore rules - Subproject
.gitignore: Each subproject (api-server, mcp, webpage) has its own rules
Verify .gitignore:
bash# Run verification script ./scripts/verify-gitignore.sh # Check if a file is ignored git check-ignore -v <file>
Common ignored files:
- Environment variables (
.env,.env.local) - SSL certificates (
*.key,*.pem,*.crt) - Build outputs (
dist/,build/,lib/) - Dependencies (
node_modules/,venv/) - Logs (
*.log,logs/) - User uploads (
uploads/,media/) - Deployment scripts (
deploy.sh,setup-*.sh)
Documentation:
- See .gitignore-quickref.md for quick reference
- See .gitignore-improvements.md for detailed changes
Clean up accidentally tracked files:
bash# Remove from git but keep locally git rm --cached <file> # Or use the cleanup script (for sensitive files) ./scripts/cleanup-git-cache.sh
📄 License
MIT License
🌟 Ready to get started? Visit https://todo4ai.org/ and experience the power of AI-driven task management!