Figma Context logo

Figma Context

CommunityPopular
glips

MCP server to provide Figma layout information to AI coding agents like Cursor

Publisherglips
Repositoryfigma-context-mcp
LanguageTypeScript
Forks
1.2K
Stars
14.7K
Available tools
0
Transport typestdio
Categories
LicenseMIT
Links
  • Connect tools to AI workflows

    Figma Context exposes MCP capabilities that can be used by compatible AI clients and agents.

  • 0 available tools

    Browse the callable actions below, including names and descriptions when provided by the server.

  • Ready-to-copy setup

    Use the installation snippets to configure this server in your preferred MCP client.

  • Open source signals

    14.7K stars and 1.2K forks from the linked repository.

Give Cursor and other AI-powered coding tools access to your Figma files with this Model Context Protocol server.

When Cursor has access to Figma design data, it's way better at one-shotting designs accurately than alternative approaches like pasting screenshots.
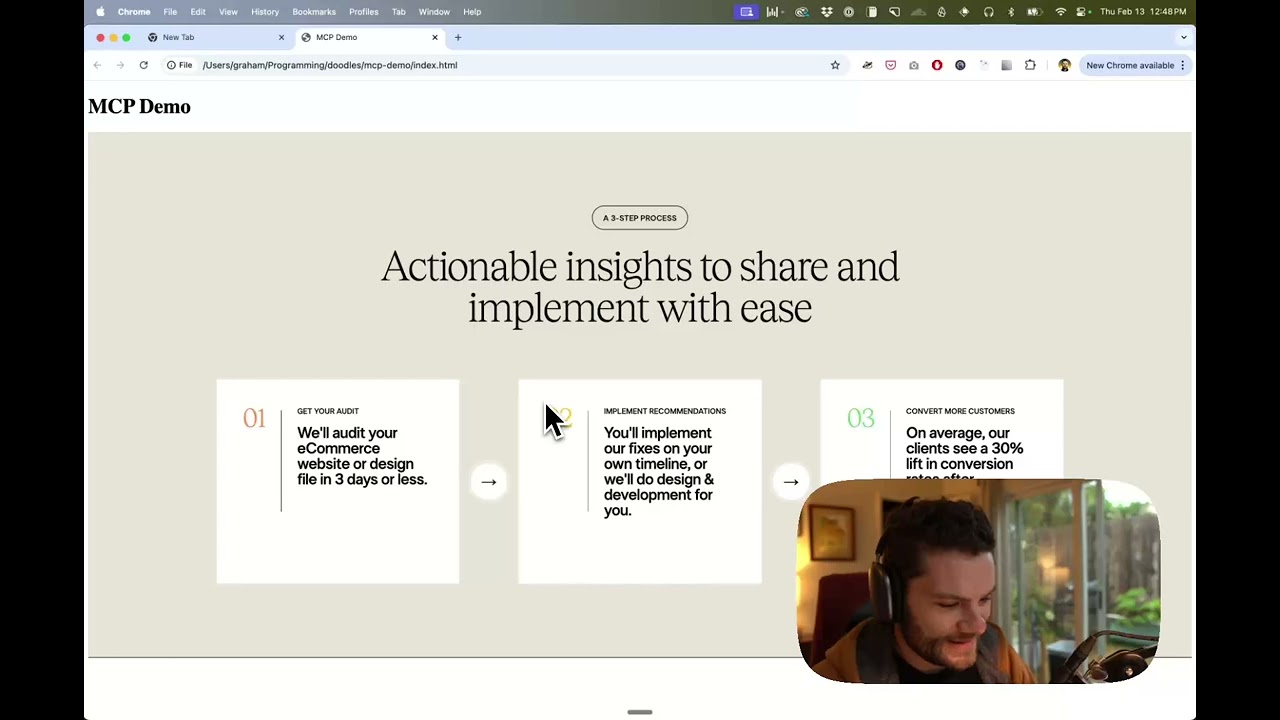
Demo

Watch a demo of building a UI in Cursor with Figma design data

Watch the video

How it works

  1. Open your IDE's chat (e.g. agent mode in Cursor).
  2. Paste a link to a Figma file, frame, or group.
  3. Ask Cursor to do something with the Figma fileβ€”e.g. implement the design.
  4. Cursor will fetch the relevant metadata from Figma and use it to write your code.

This MCP server is specifically designed for use with Cursor. Before responding with context from the Figma API, it simplifies and translates the response so only the most relevant layout and styling information is provided to the model.

Reducing the amount of context provided to the model helps make the AI more accurate and the responses more relevant.

Getting Started

Many code editors and other AI clients use a configuration file to manage MCP servers.

The figma-developer-mcp server can be configured by adding the following to your configuration file.

NOTE: You will need to create a Figma access token to use this server. Instructions on how to create a Figma API access token can be found here.

MacOS / Linux

json
{
  "mcpServers": {
    "Framelink MCP for Figma": {
      "command": "npx",
      "args": ["-y", "figma-developer-mcp", "--figma-api-key=YOUR-KEY", "--stdio"]
    }
  }
}

Windows

json
{
  "mcpServers": {
    "Framelink MCP for Figma": {
      "command": "cmd",
      "args": ["/c", "npx", "-y", "figma-developer-mcp", "--figma-api-key=YOUR-KEY", "--stdio"]
    }
  }
}

Or you can set FIGMA_API_KEY and PORT in the env field.

If you need more information on how to configure the Framelink MCP for Figma, see the Framelink docs.

Star History

Learn More

The Framelink MCP for Figma is simple but powerful. Get the most out of it by learning more at the Framelink site.

Installation

TypingMind
Prerequisites:

Node.js 18+

{
  "mcpServers": {
    "Framelink Figma MCP": {
      "command": "npx",
      "args": [
        "-y",
        "figma-developer-mcp",
        "--stdio"
      ],
      "env": {
        "FIGMA_API_KEY": "YOUR_API_KEY"
      }
    }
  }
}

Use Figma Context MCP with multiple AI models

TypingMind connects MCP tools at the workspace level, so once Figma Context is connected, you can use it with different AI models in TypingMind instead of setting it up separately for each model. This MCP runs locally through the TypingMind MCP connector on your device.

Setup guide to use the local connector

Use this when the MCP server needs access to local files, apps, or private resources on your computer.

1

Open the MCP settings

In TypingMind, go to Settings, Advanced Settings, then Model Context Protocol and choose Setup Connector.

  1. Open TypingMind in your browser.
  2. Click the Settings icon.
  3. Go to Advanced Settings.
  4. Open the Model Context Protocol section.
  5. Click Setup Connector and choose This Device.
TypingMind MCP connector setup screen with This Device selected
2

Run the connector command

Choose This Device, copy the command from TypingMind, and run it in Terminal. Keep the process running while you use MCP.

  1. Copy the setup command shown by TypingMind.
  2. Open Terminal on macOS or Windows Terminal on Windows.
  3. Paste and run the command.
  4. Approve the package install if Terminal asks you to proceed.
  5. Keep the Terminal window running while using MCP tools.
3

Add Figma Context as a server

When the connector status is Ready, click Edit Servers and paste the MCP server configuration.

  1. Wait until the connector status shows Ready.
  2. Click Edit Servers.
  3. Paste the Figma Context MCP server configuration.
  4. Save the server list.
  5. Refresh if you want to confirm the connector is still ready.
TypingMind MCP settings showing active server and Edit Servers button
{
  "mcpServers": {
    "figma-context": {
      "command": "npx",
      "args": [
        "-y",
        "figma-developer-mcp"
      ]
    }
  }
}
4

Use it across models

Save the server list, open Plugins, enable the Figma Context MCP tools, then select any supported AI model in TypingMind and use the tools in chat or assign them to an AI agent.

  1. Open the Plugins page in TypingMind.
  2. Enable the Figma Context MCP tools.
  3. Start a chat and choose the AI model you want to use.
  4. Use the MCP tools in chat or assign them to an AI agent.
  5. Switch to another AI model whenever needed without reconnecting MCP.
TypingMind chat using enabled MCP tools with a selected AI model
Can you use Figma Context to help me with this task?
Figma Context
Sure. I read it.
Here is what I found using Figma Context.

Frequently asked questions

What is the Figma Context MCP server used for?

Figma Context is an MCP server that lets compatible AI clients connect to external tools and context. In TypingMind, you can add this MCP server once and make its tools available in your AI workspace.

Can I use Figma Context MCP with multiple AI models in TypingMind?

Yes. TypingMind connects MCP tools at the workspace level, so you can use Figma Context with different AI models such as Claude, ChatGPT, Gemini, or other models you have configured in TypingMind without setting up the MCP server separately for each model.

Why use Figma Context MCP with TypingMind?

TypingMind is one of the best frontends for LLM chat because it brings multiple AI models, prompts, plugins, AI agents, API keys, and MCP tools into one workspace. With Figma Context connected, you can use its MCP tools across your preferred models while keeping your chat workflow organized in TypingMind.

How do I connect Figma Context MCP to TypingMind?

Figma Context runs through the TypingMind local MCP connector. This is best when the MCP server needs access to local files, desktop apps, command-line tools, or private resources on your computer.

What tools does Figma Context MCP provide in TypingMind?

Figma Context exposes MCP capabilities that can be enabled from the TypingMind Plugins page and used in chat or assigned to AI agents.

Do I need to share my API keys with TypingMind to use Figma Context MCP?

No. TypingMind is local-first and lets you keep your model providers, API keys, prompts, and MCP configuration under your control. If Figma Context requires authentication, add the required headers, OAuth settings, or local configuration for that MCP server when you create the connection.

Related MCP Servers

View all

Set up your own AI workspace now

Get notified about new features and future giveaways by subscribing to our newsletter πŸ‘‡