
About
mcp-use is the fullstack MCP framework to build MCP Apps for ChatGPT / Claude & MCP Servers for AI Agents.
- Build with mcp-use SDK (ts | py): MCP Servers and MCP Apps
- Preview on mcp-use MCP Inspector (online | oss): Test and debug your MCP Servers and Apps
- Deploy on Manufact MCP Cloud: Connect your GitHub repo and have your MCP Server and App up and running in production with observability, metrics, logs, branch-deployments, and more
Documentation
Visit our docs or jump to a quickstart (TypeScript | Python)
Skills for Coding Agents
Using Claude Code, Codex, Cursor or other AI coding agents?
Quickstart: MCP Servers and MCP Apps
TypeScript
Build your first MCP Server or MPC App:
bashnpx create-mcp-use-app@latest
Or create a server manually:
typescriptimport { MCPServer, text } from "mcp-use/server"; import { z } from "zod"; const server = new MCPServer({ name: "my-server", version: "1.0.0", }); server.tool({ name: "get_weather", description: "Get weather for a city", schema: z.object({ city: z.string() }), }, async ({ city }) => { return text(`Temperature: 72°F, Condition: sunny, City: ${city}`); }); await server.listen(3000); // Inspector at http://localhost:3000/inspector
→ Full TypeScript Server Documentation
MCP Apps
MCP Apps let you build interactive widgets that work across Claude, ChatGPT, and other MCP clients — write once, run everywhere.
Server: define a tool and point it to a widget:
typescriptimport { MCPServer, widget } from "mcp-use/server"; import { z } from "zod"; const server = new MCPServer({ name: "weather-app", version: "1.0.0", }); server.tool({ name: "get-weather", description: "Get weather for a city", schema: z.object({ city: z.string() }), widget: "weather-display", // references resources/weather-display/widget.tsx }, async ({ city }) => { return widget({ props: { city, temperature: 22, conditions: "Sunny" }, message: `Weather in ${city}: Sunny, 22°C`, }); }); await server.listen(3000);
Widget: create a React component in resources/weather-display/widget.tsx:
tsximport { useWidget, type WidgetMetadata } from "mcp-use/react"; import { z } from "zod"; const propSchema = z.object({ city: z.string(), temperature: z.number(), conditions: z.string(), }); export const widgetMetadata: WidgetMetadata = { description: "Display weather information", props: propSchema, }; const WeatherDisplay: React.FC = () => { const { props, isPending, theme } = useWidget<z.infer<typeof propSchema>>(); const isDark = theme === "dark"; if (isPending) return <div>Loading...</div>; return ( <div style={{ background: isDark ? "#1a1a2e" : "#f0f4ff", borderRadius: 16, padding: 24, }}> <h2>{props.city}</h2> <p>{props.temperature}° — {props.conditions}</p> </div> ); }; export default WeatherDisplay;
Widgets in resources/ are auto-discovered — no manual registration needed.
Visit MCP Apps Documentation
Templates
Ready-to-use MCP Apps you can deploy in one click or remix as your own.
| Preview | Name | Tools | Demo URL | Repo | Deploy |
|---|---|---|---|---|---|
 | Chart Builder | create-chart | Open URL | mcp-use/mcp-chart-builder |  |
 | Diagram Builder | create-diagram, edit-diagram | Open URL | mcp-use/mcp-diagram-builder | |
 | Slide Deck | create-slides, edit-slide | Open URL | mcp-use/mcp-slide-deck | |
 | Maps Explorer | show-map, get-place-details, add-markers | Open URL | mcp-use/mcp-maps-explorer | |
 | Hugging Face Spaces | search-spaces, show-space, trending-spaces | Open URL | mcp-use/mcp-huggingface-spaces | |
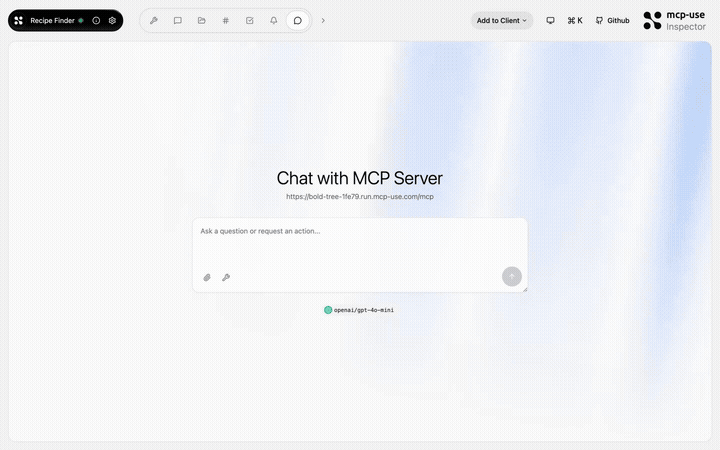 | Recipe Finder | search-recipes, get-recipe, meal-plan, recipe-suggestion | Open URL | mcp-use/mcp-recipe-finder | |
 | Widget Gallery | show-react-widget, html-greeting, mcp-ui-poll, programmatic-counter, detect-client | Open URL | mcp-use/mcp-widget-gallery | |
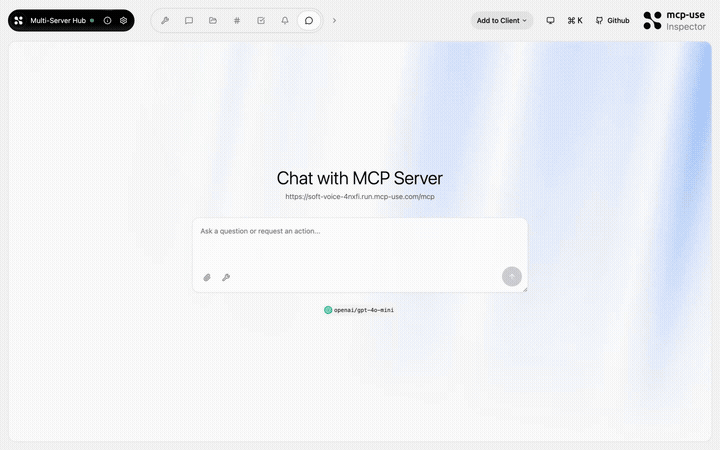 | Multi Server Hub | hub-status, hub-config-example, audit-log | Open URL | mcp-use/mcp-multi-server-hub | |
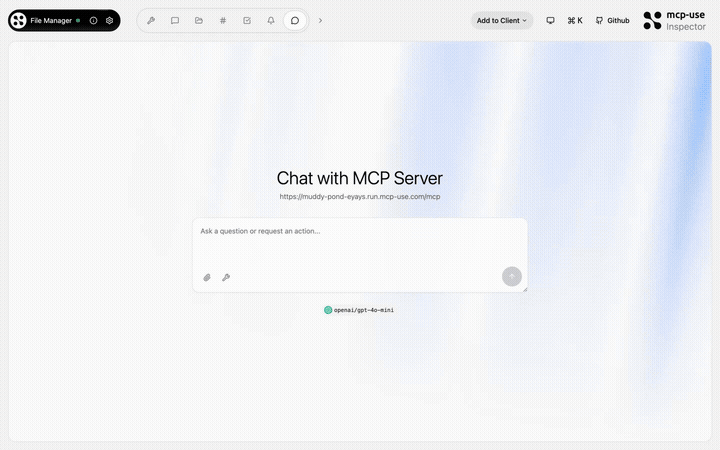 | File Manager | open-vault, get-file, list-files | Open URL | mcp-use/mcp-file-manager | |
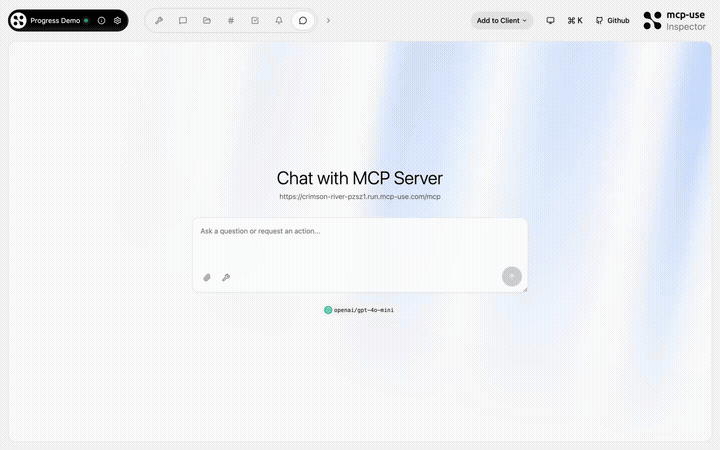 | Progress Demo | process-data, fetch-report, delete-dataset, search-external, failing-tool | Open URL | mcp-use/mcp-progress-demo | |
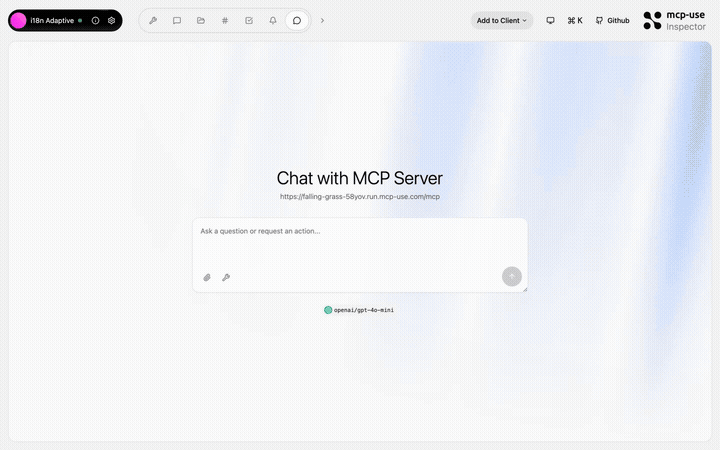 | i18n Adaptive | show-context, detect-caller | Open URL | mcp-use/mcp-i18n-adaptive | |
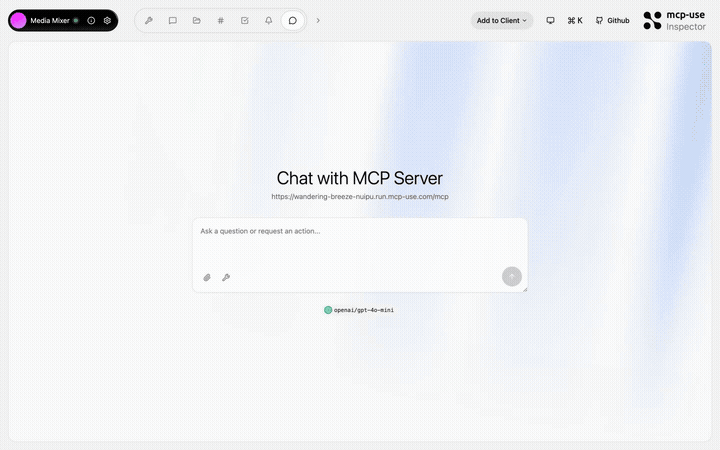 | Media Mixer | generate-image, generate-audio, generate-pdf, get-report, get-html-snippet, get-xml-config, get-stylesheet, get-script, get-data-array | Open URL | mcp-use/mcp-media-mixer | |
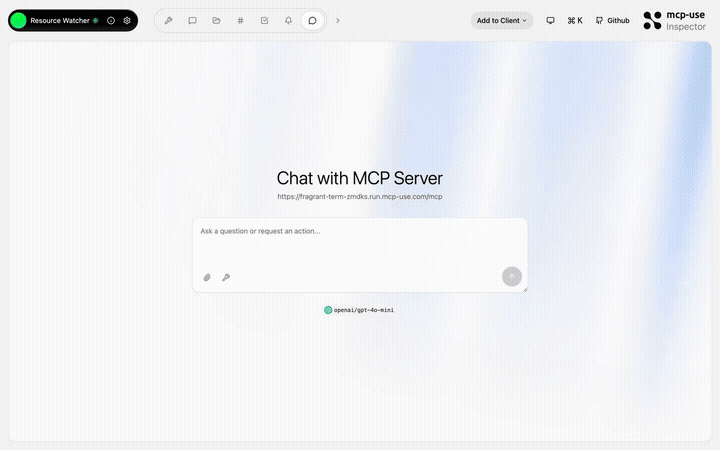 | Resource Watcher | show-config, update-config, toggle-feature, list-roots | Open URL | mcp-use/mcp-resource-watcher | |
Python
bashpip install mcp-use
pythonfrom typing import Annotated from mcp.types import ToolAnnotations from pydantic import Field from mcp_use import MCPServer server = MCPServer(name="Weather Server", version="1.0.0") @server.tool( name="get_weather", description="Get current weather information for a location", annotations=ToolAnnotations(readOnlyHint=True, openWorldHint=True), ) async def get_weather( city: Annotated[str, Field(description="City name")], ) -> str: return f"Temperature: 72°F, Condition: sunny, City: {city}" # Start server with auto-inspector server.run(transport="streamable-http", port=8000) # 🎉 Inspector at http://localhost:8000/inspector
→ Full Python Server Documentation
Inspector
The mcp-use Inspector lets you test and debug your MCP servers interactively.
Auto-included when using server.listen():
typescriptserver.listen(3000); // Inspector at http://localhost:3000/inspector
Online when connecting to hosted MCP servers:
Standalone: inspect any MCP server:
bashnpx @mcp-use/inspector --url http://localhost:3000/mcp
Visit Inspector Documentation
Deploy
Deploy your MCP server to production:
bashnpx @mcp-use/cli login npx @mcp-use/cli deploy
Or connect your GitHub repo on manufact.com — production-ready with observability, metrics, logs, and branch-deployments.
Package Overview
This monorepo contains multiple packages for both Python and TypeScript:
Python Packages
| Package | Description | Version |
|---|---|---|
| mcp-use | Complete MCP server and MCP agent SDK |  |
TypeScript Packages
| Package | Description | Version |
|---|---|---|
| mcp-use | Core framework for MCP servers, MCP apps, and MCP agents |  |
| @mcp-use/cli | Build tool with hot reload and auto-inspector |  |
| @mcp-use/inspector | Web-based previewer and debugger for MCP servers |  |
| create-mcp-use-app | Project scaffolding tool |  |
Also: MCP Agent & Client
mcp-use also provides a full MCP Agent and Client implementation.
Python
bashpip install mcp-use langchain-openai
pythonimport asyncio from langchain_openai import ChatOpenAI from mcp_use import MCPAgent, MCPClient async def main(): config = { "mcpServers": { "filesystem": { "command": "npx", "args": ["-y", "@modelcontextprotocol/server-filesystem", "/tmp"] } } } client = MCPClient.from_dict(config) llm = ChatOpenAI(model="gpt-4o") agent = MCPAgent(llm=llm, client=client) result = await agent.run("List all files in the directory") print(result) asyncio.run(main())
→ Full Python Agent Documentation
TypeScript
bashnpm install mcp-use @langchain/openai
typescriptimport { ChatOpenAI } from "@langchain/openai"; import { MCPAgent, MCPClient } from "mcp-use"; async function main() { const config = { mcpServers: { filesystem: { command: "npx", args: ["-y", "@modelcontextprotocol/server-filesystem", "/tmp"], }, }, }; const client = MCPClient.fromDict(config); const llm = new ChatOpenAI({ modelName: "gpt-4o" }); const agent = new MCPAgent({ llm, client }); const result = await agent.run("List all files in the directory"); console.log(result); } main();
→ Full TypeScript Agent Documentation
Python
pythonimport asyncio from mcp_use import MCPClient async def main(): config = { "mcpServers": { "calculator": { "command": "npx", "args": ["-y", "@modelcontextprotocol/server-everything"] } } } client = MCPClient.from_dict(config) await client.create_all_sessions() session = client.get_session("calculator") result = await session.call_tool(name="add", arguments={"a": 5, "b": 3}) print(f"Result: {result.content[0].text}") await client.close_all_sessions() asyncio.run(main())
TypeScript
typescriptimport { MCPClient } from "mcp-use"; async function main() { const config = { mcpServers: { calculator: { command: "npx", args: ["-y", "@modelcontextprotocol/server-everything"], }, }, }; const client = new MCPClient(config); await client.createAllSessions(); const session = client.getSession("calculator"); const result = await session.callTool("add", { a: 5, b: 3 }); console.log(`Result: ${result.content[0].text}`); await client.closeAllSessions(); } main();
→ TypeScript Client Documentation
Conformance to Model Context Protocol
Security
See SECURITY.md
Community & Support
- Discord: Join our community
- GitHub Issues: Report bugs or request features
- Documentation: mcp-use.com/docs
- Website: manufact.com
- X.com: Follow Manufact
- Contributing: See CONTRIBUTING.md
- License: MIT © MCP-Use Contributors
Star History
Contributors
Thanks to all our amazing contributors!
Core Contributors
- Pietro (@pietrozullo)
- Luigi (@pederzh)
- Enrico (@tonxxd)


